Last updated February 2, 2022
If you have a custom email like yourname@yourdomain.com and you send an email to a Gmail user, you’ll notice your email comes in without a profile photo (or profile picture)! As a business, you’ll certainly want to have a profile photo, either your company logo or your face profile, whatever it is, this helps makes your email more authentic.
In this post, I will show you how to setup your yourname@yourdomain.com account so that when you send an email to a Gmail account, your profile photo will show up! It does not matter if your email is hosted via hostgator, bluehost, ipage, etc or any webhosting or email hosting solution! It doesn’t matter if you are sending your email from Gmail, horde, roundcube, SquirrelMail, or any other webmail client!
Bonus tip: did you know you can use your gmail account to send and receive emails from yourname@yourdomain.com email address? Yep, it’s easy! You can setup a Gmail account and have it import your yourname@yourdomain.com emails; your Gmail account will also have the option to set emails “as alias” and recipient of your emails will see that it was sent from yourname@yourdomain.com. Most hosting company will show you how to setup google mail POP3 access like this article for hostgator users: https://support.hostgator.com/articles/google-mail-fetcher
Advertisement: The easiest way to create an email address and use all of Google’s feature is by creating a G Suite Account for your domain email address. I.E. yourname@yourdomain.com. Here’s how to setup a G Suite account . NOTE: I can generate you a 20% off code, simply email me at david@utechpia.com and ask me for a G Suite Code, let me know if you want a coupon code for G Suite Basic or G Suite Business, and I’ll send you over a 20% off code!
So you probably came to this blog because when you send an email to a Gmail user, the receiving party doesn’t see a profile photo.
The receiving party will see something like this:
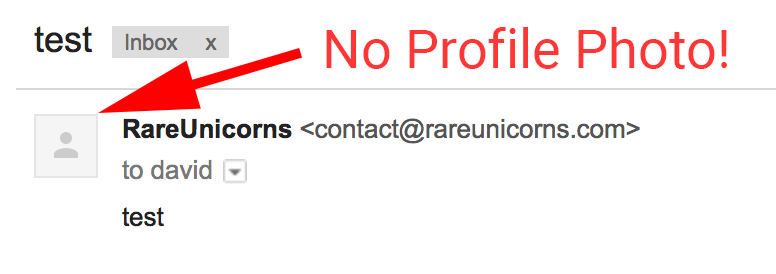
What you WANT to see is something like this:

I’ve searched long and hard to find the solution (other than paying for a Gsuite Account)! The solution is simple!
After doing that, when you send emails, your email profile photo will finally show up! The email avatar is now the Google Plus Profile Photo! Yay!
Step-By-Step Solution:
So the problem we have is that the receiving party does not see a profile image when they receive your email. Let’s update your profile photo, here are the step-by-step instructions:
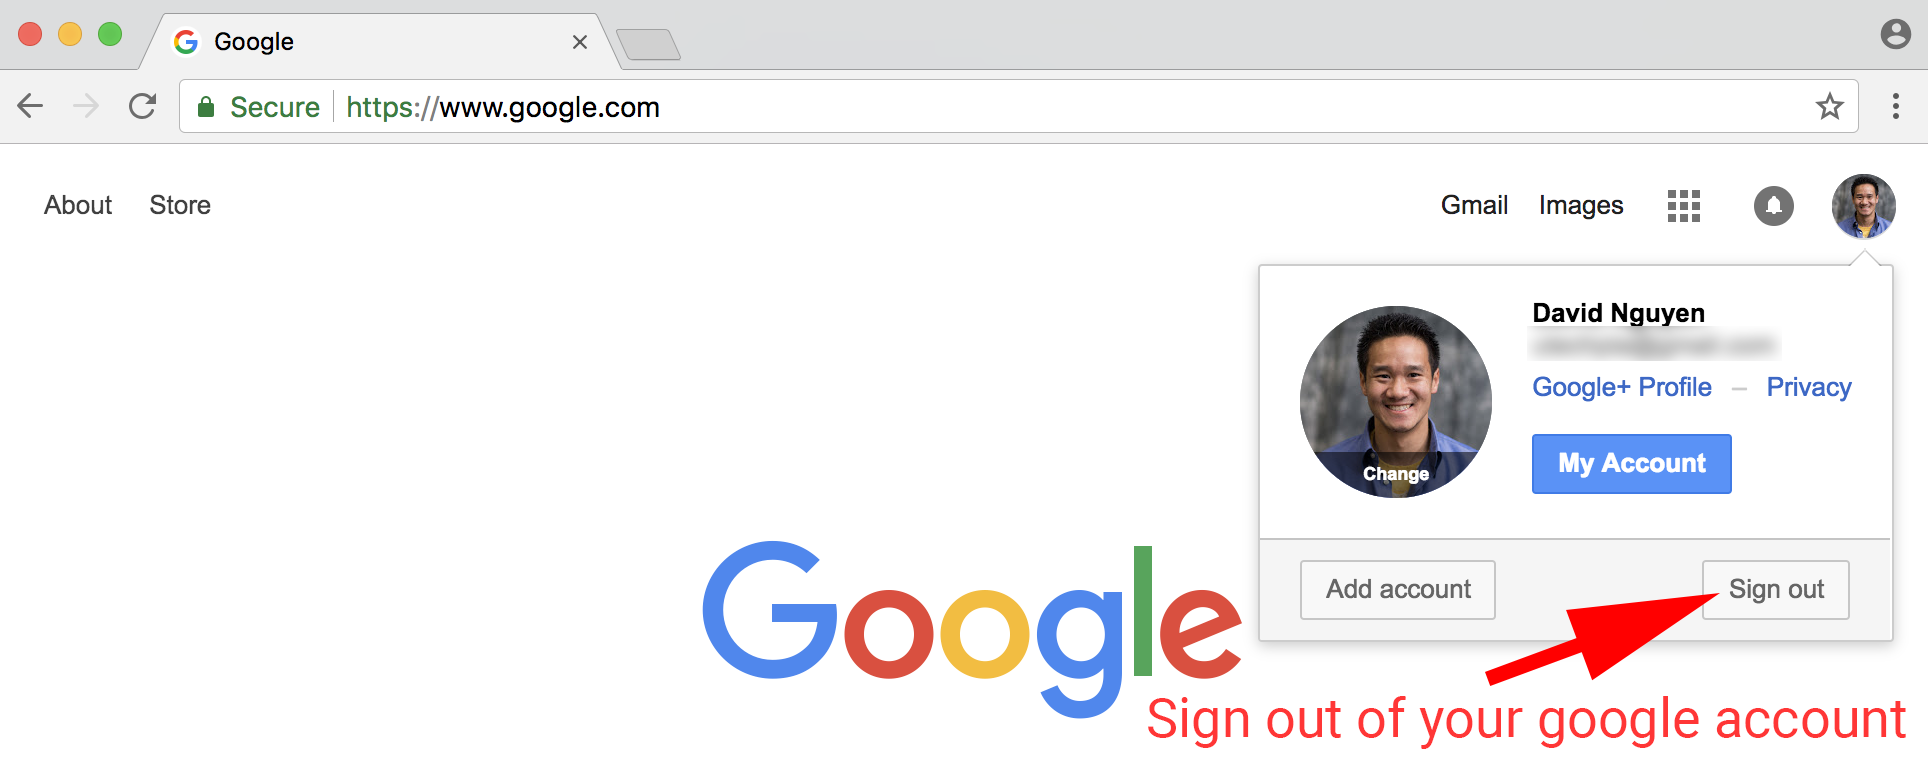
- Go to Google.com and Sign out of your gmail account.
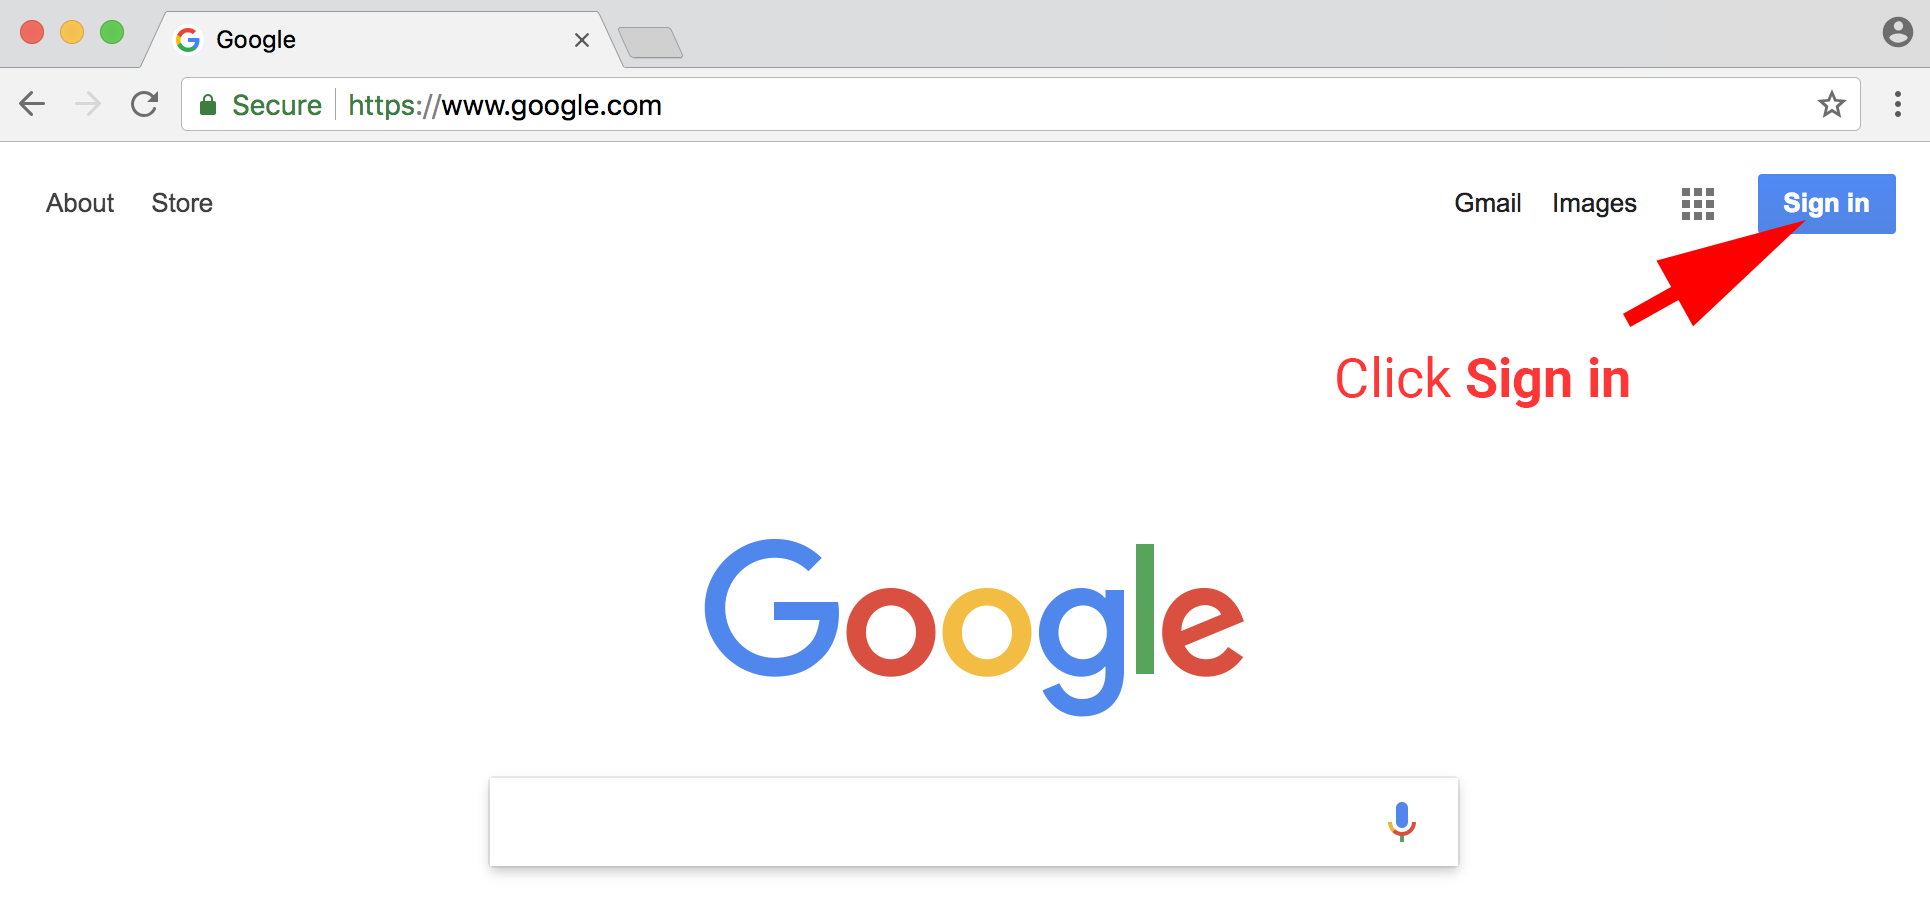
- Go back to Google.com and Click Sign in
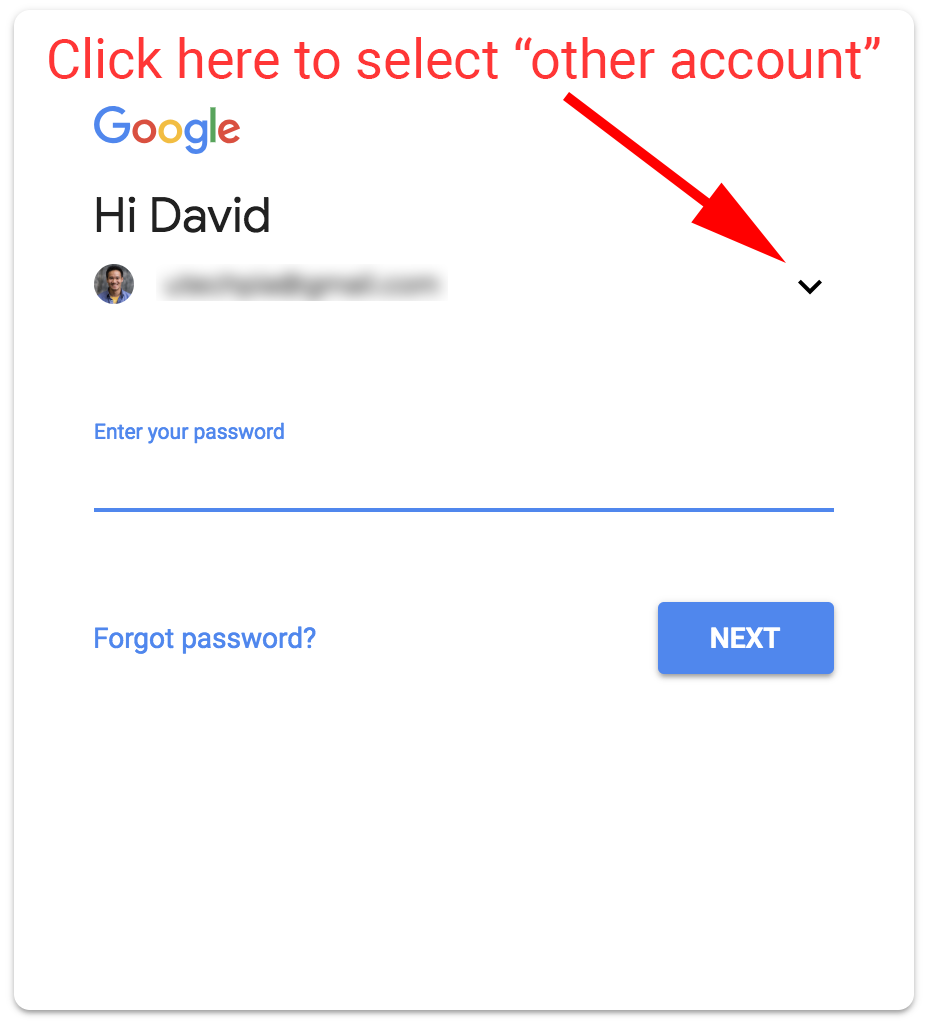
- Click on the arrow drop down so you can select “other account”
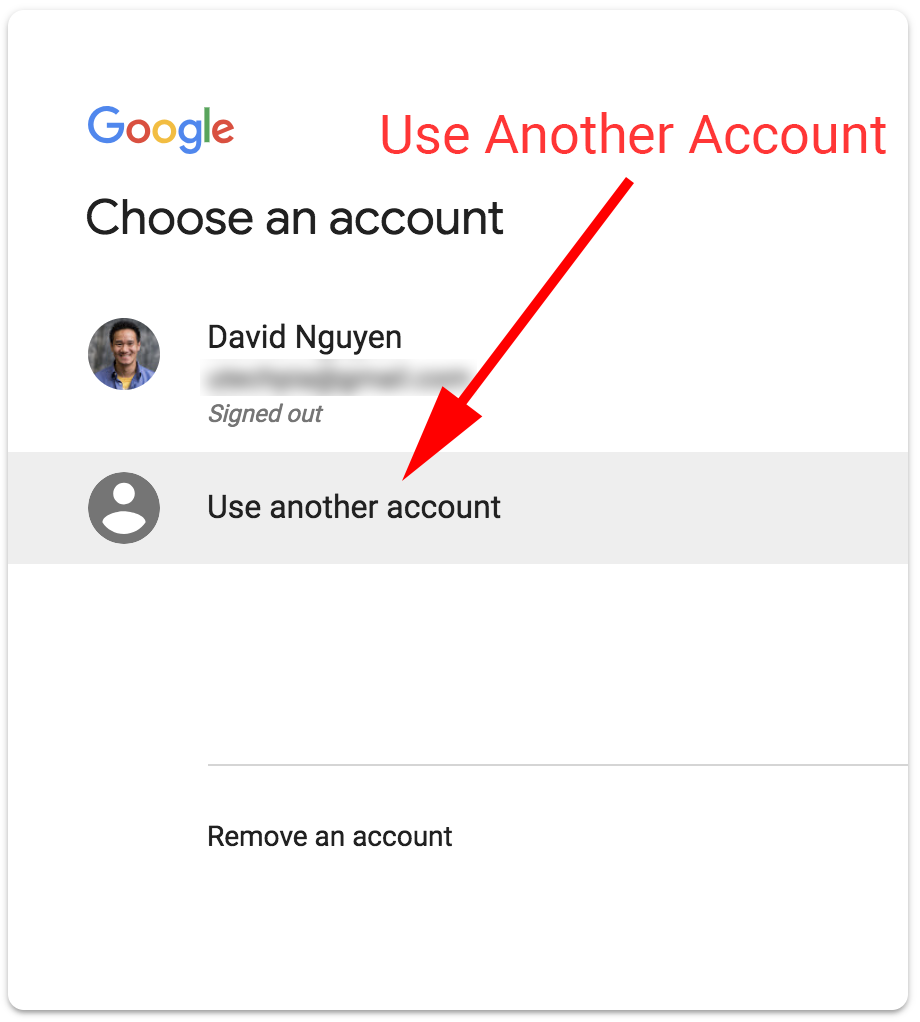
- Select the option to Use another account.
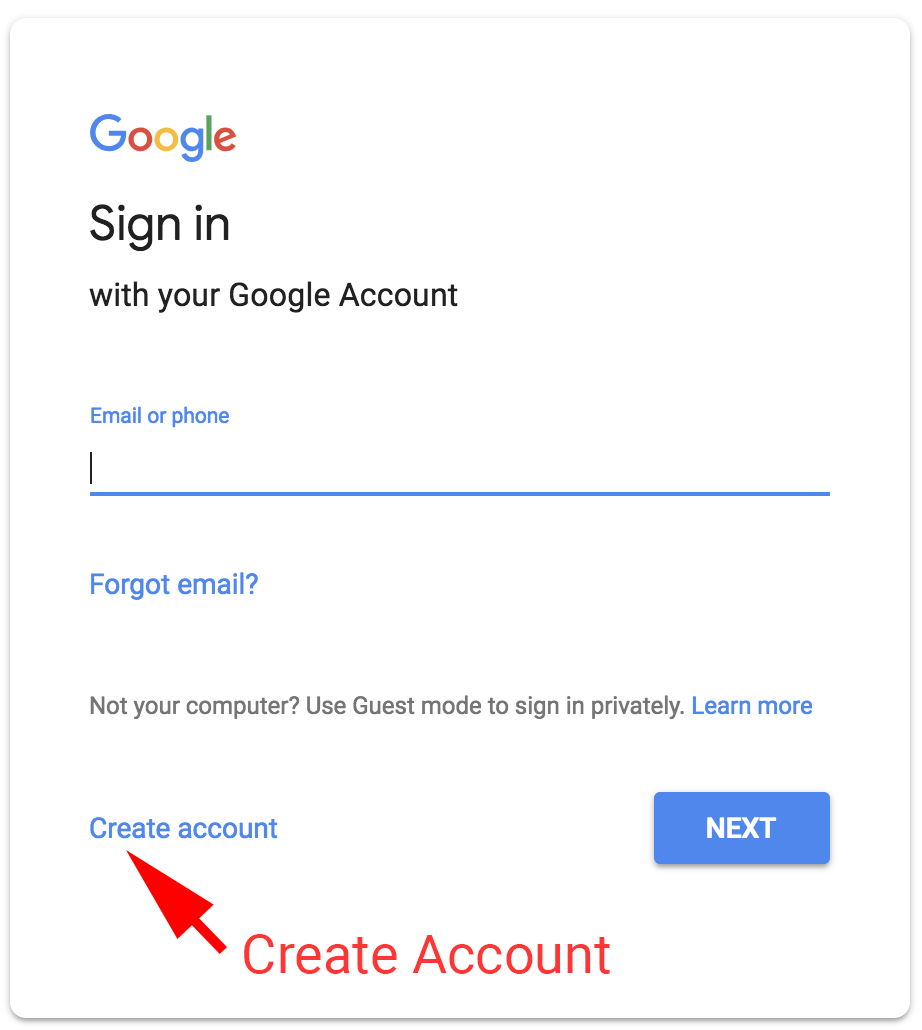
- Select the option to Create account.
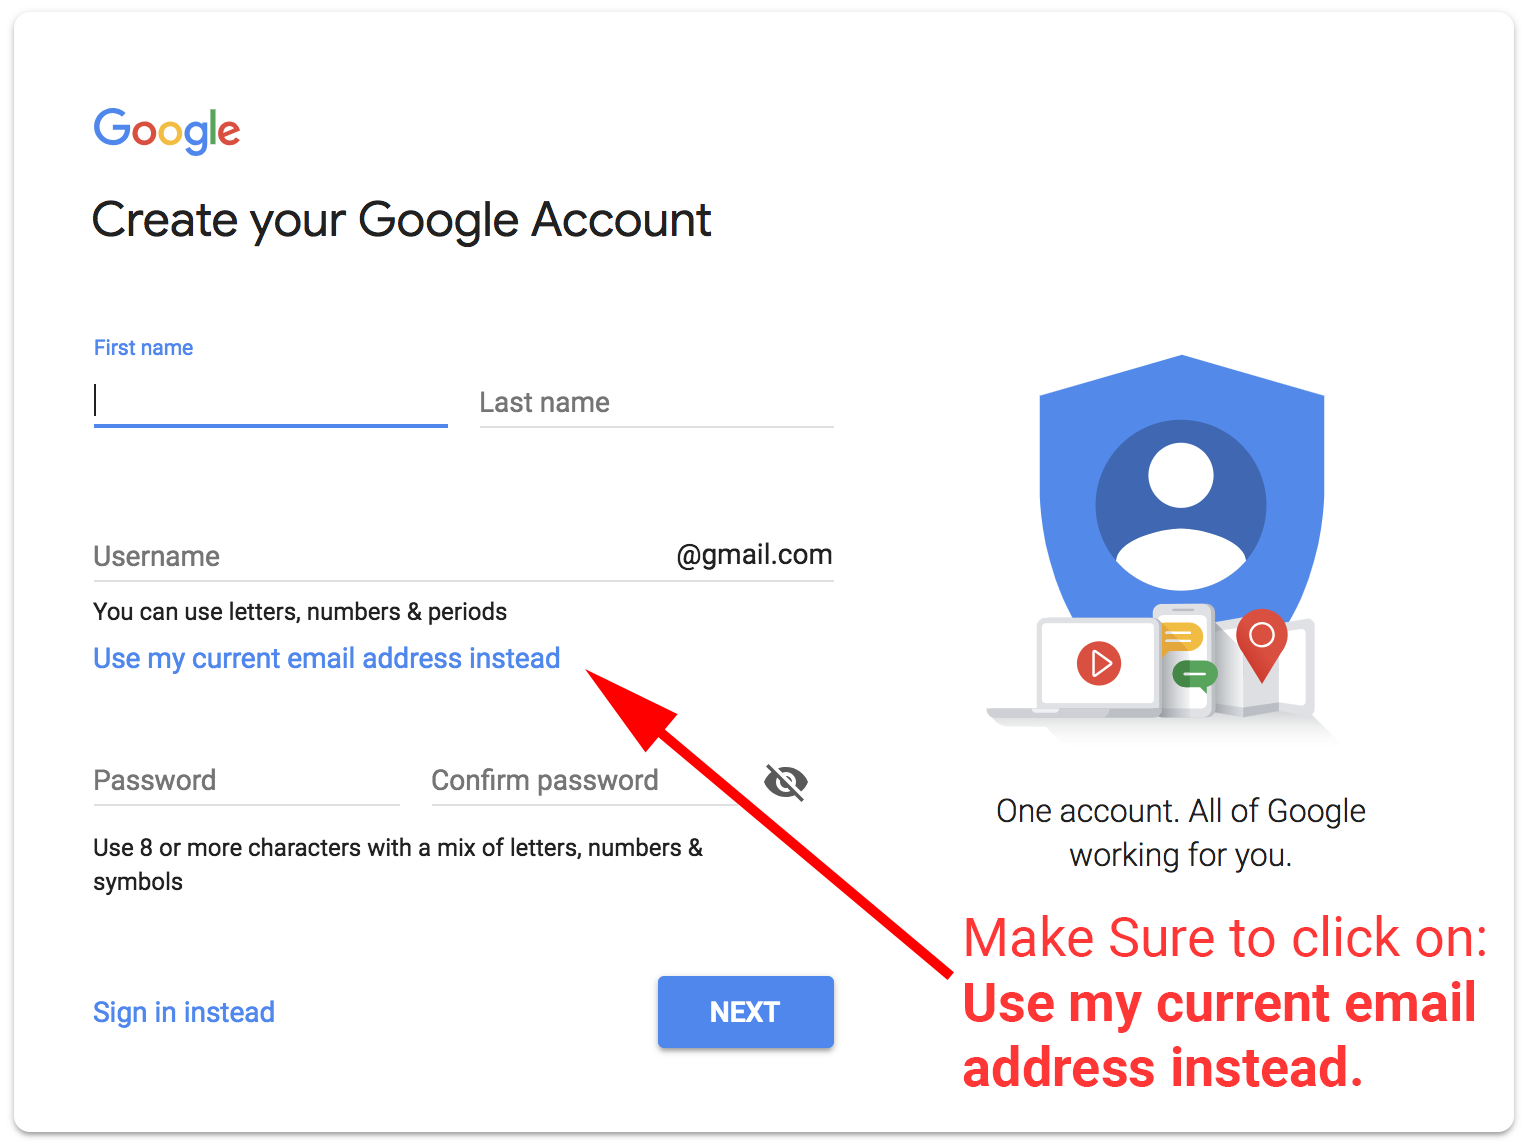
- Make sure to click on “Use my current email address instead”
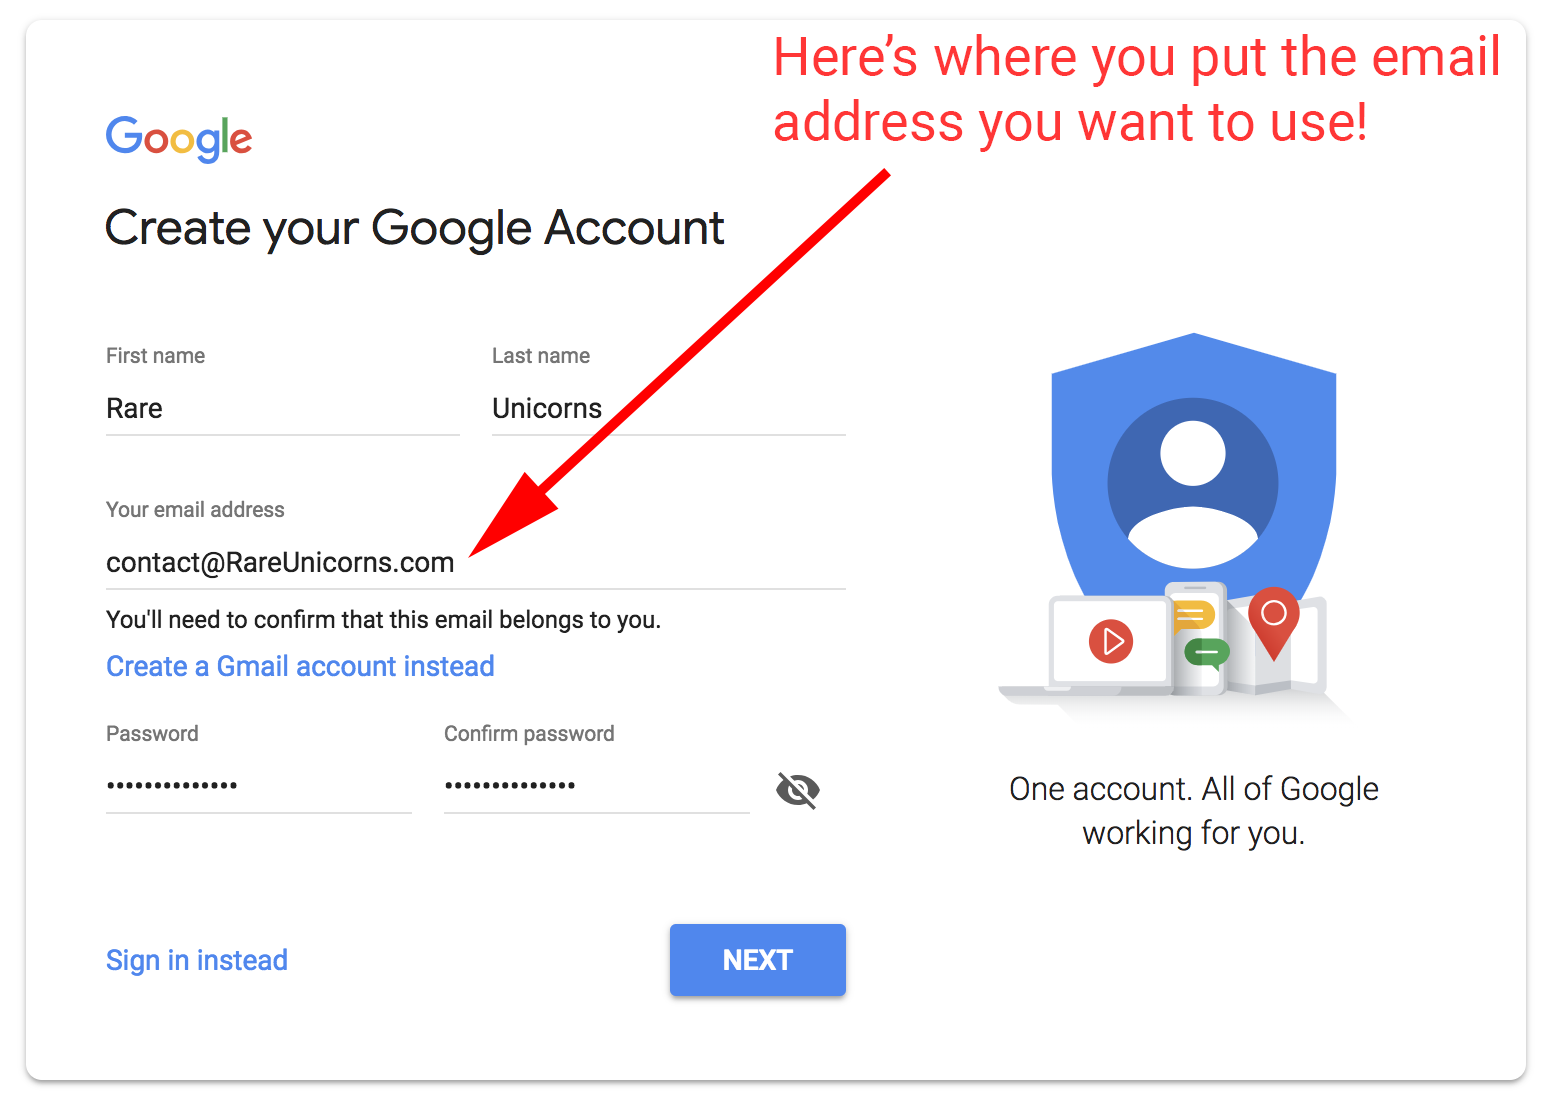
- Put the email address you want to use.
- Google will send a verification email to your email.
- Open the verification email Google sent to your personalized business email (yourname@yourdomain.com) email.
- Now go back to your google account creation page, and use the verification code provided in the email to confirm.
- Fill out the profile information for your new Google Plus Account!
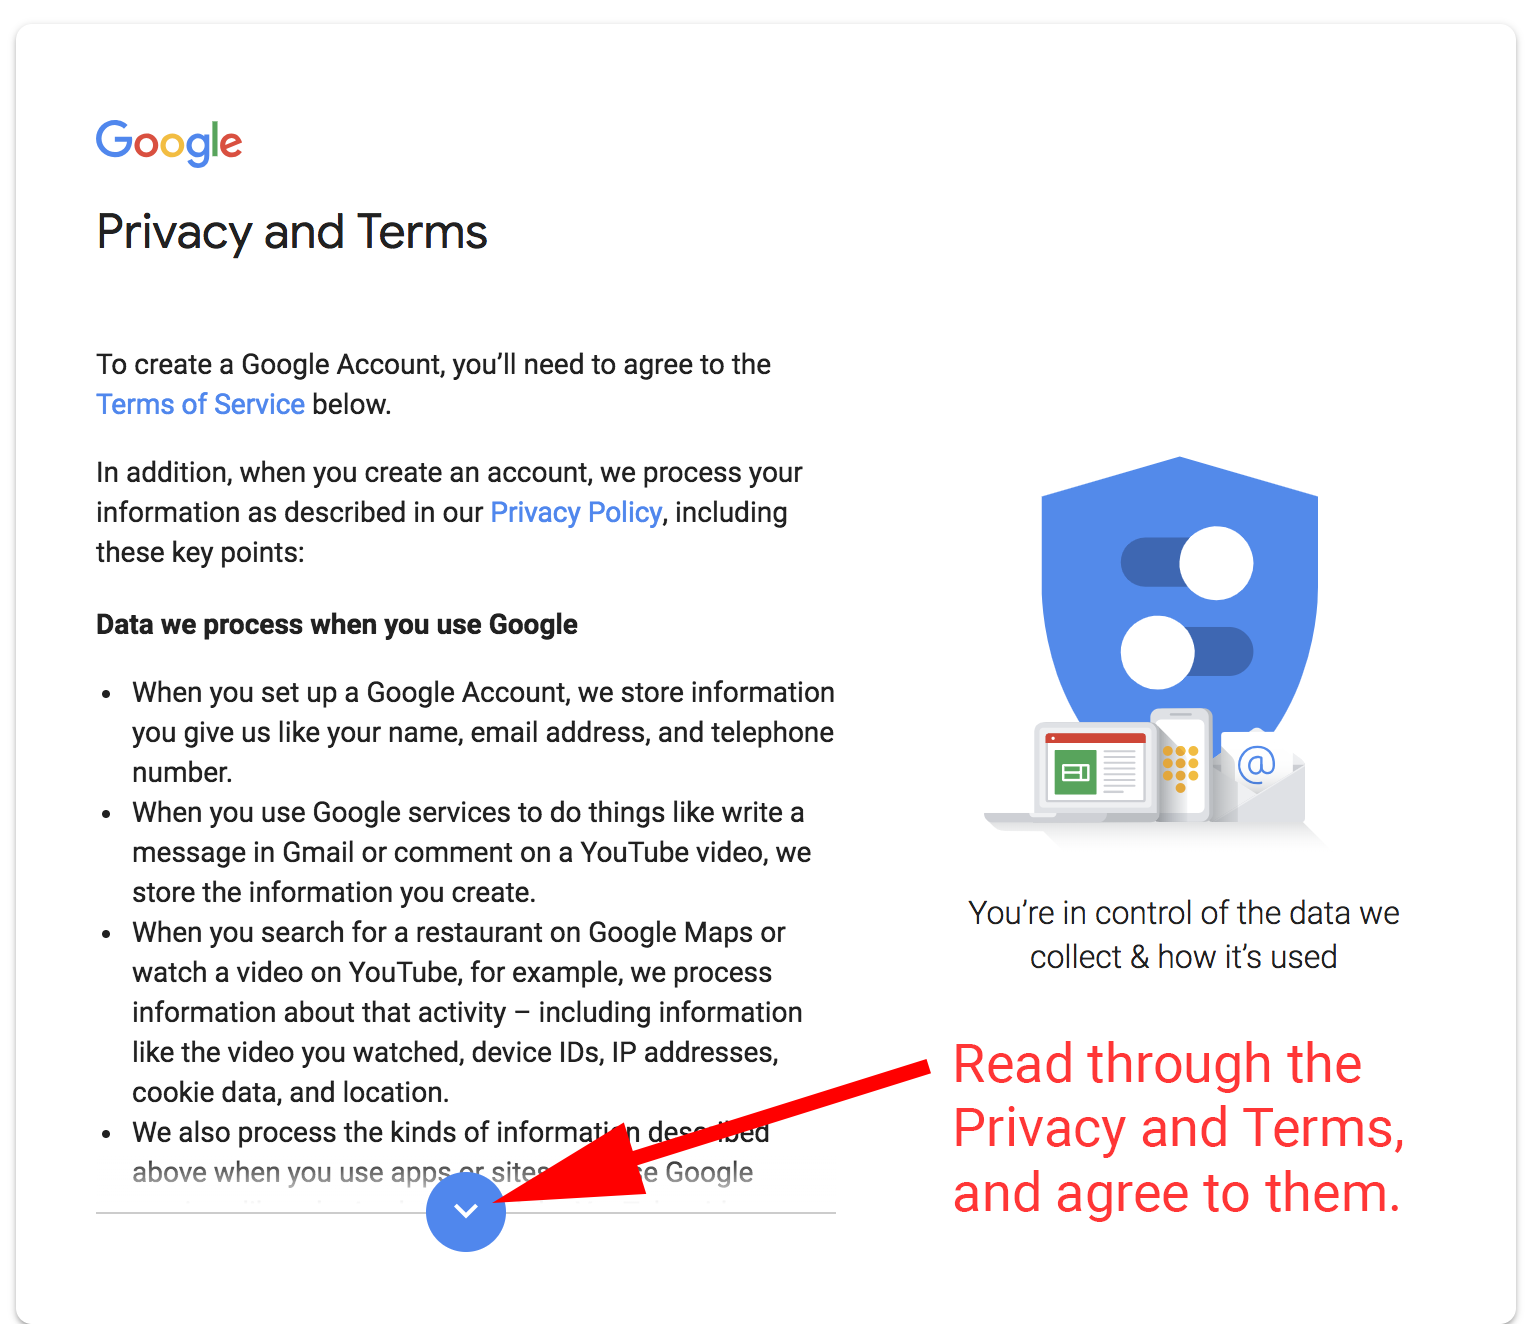
- Read through the Privacy and Terms, and then agree to move forward.
- Go back to Google.com, then on the icon on the upper right hand corner, now select it, and then click on the “change” button to change your profile photo!
- This step may take a while (maybe up to an hour!), to speed things up, try sending and receiving email for the new email account (back and forth with any gmail account).
- After about an hour, you should see the profile photo get updated!
- And now when you send an email, your receipt will see the profile photo.
The steps below include photos if you are a more visual person:
1. Go to Google.com and Sign out of your gmail account.
2. Click Sign in
3. Click on the arrow below so you can select “other account”
4. Select the option to Use another account.
5. Select the option to Create account.
6. Make sure to click on Use my current email address instead.
7. Here’s where you put the email address you want to use. Also note, if you don’t want a space between your First name and Last name, then just use the First name field and leave the last name blank. I need up using RareUnicorns for the First name, and left the Last name blank. So my email name shows up as “RareUnicorns” instead of “Rare Unicorns”.
8. Google will send a verification email to your personalized business email (yourname@yourdomain.com) email.
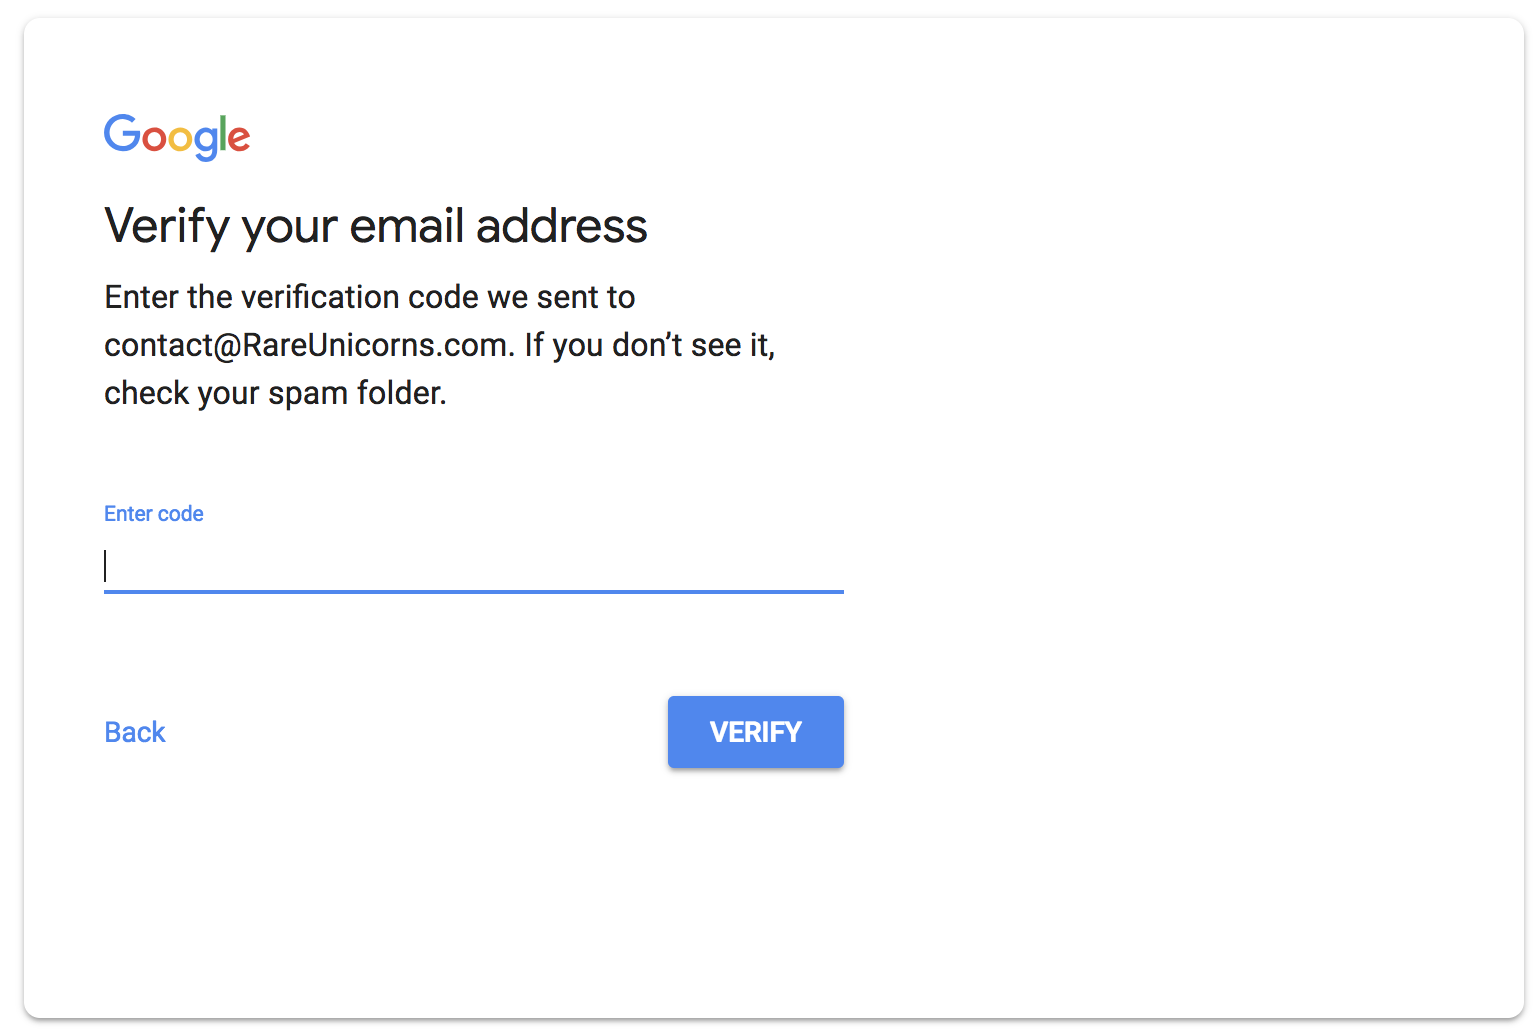
9. Open the verification email Google sent to your personalized business email (yourname@yourdomain.com) email.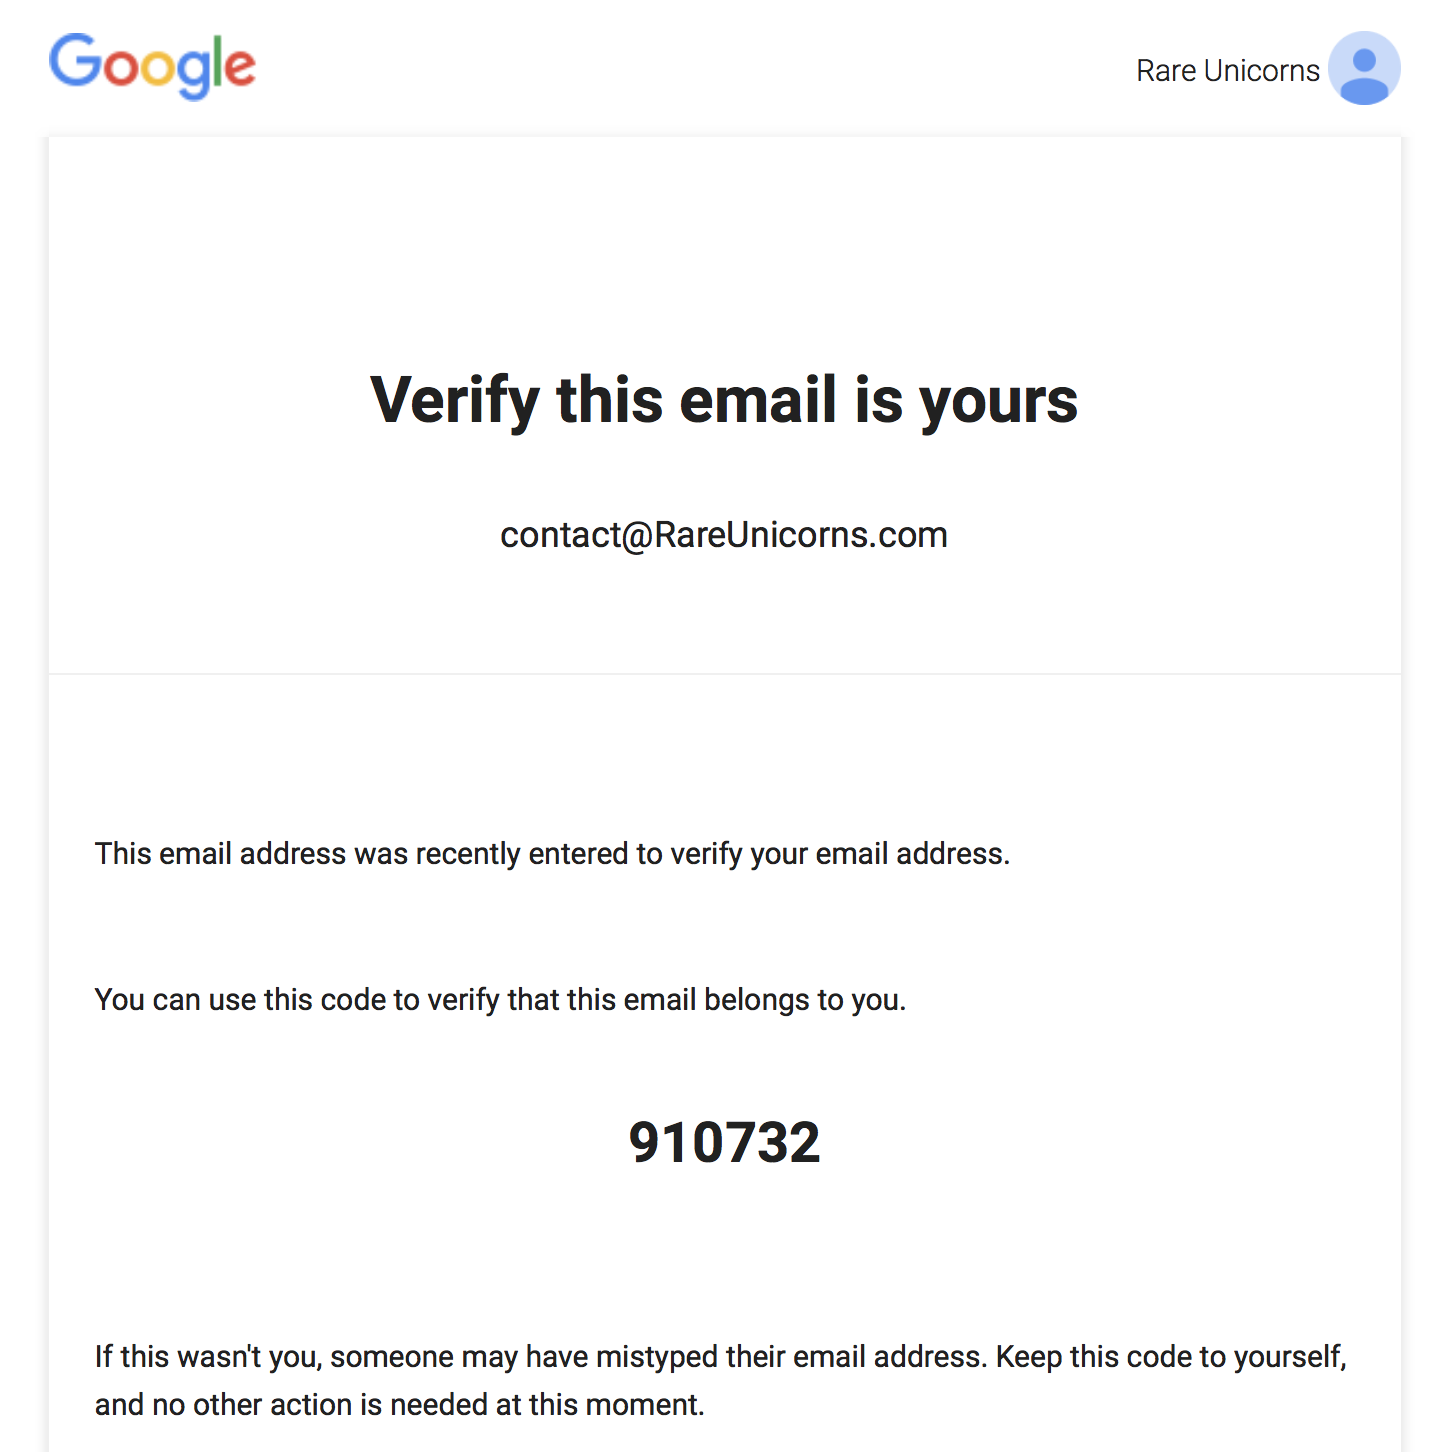
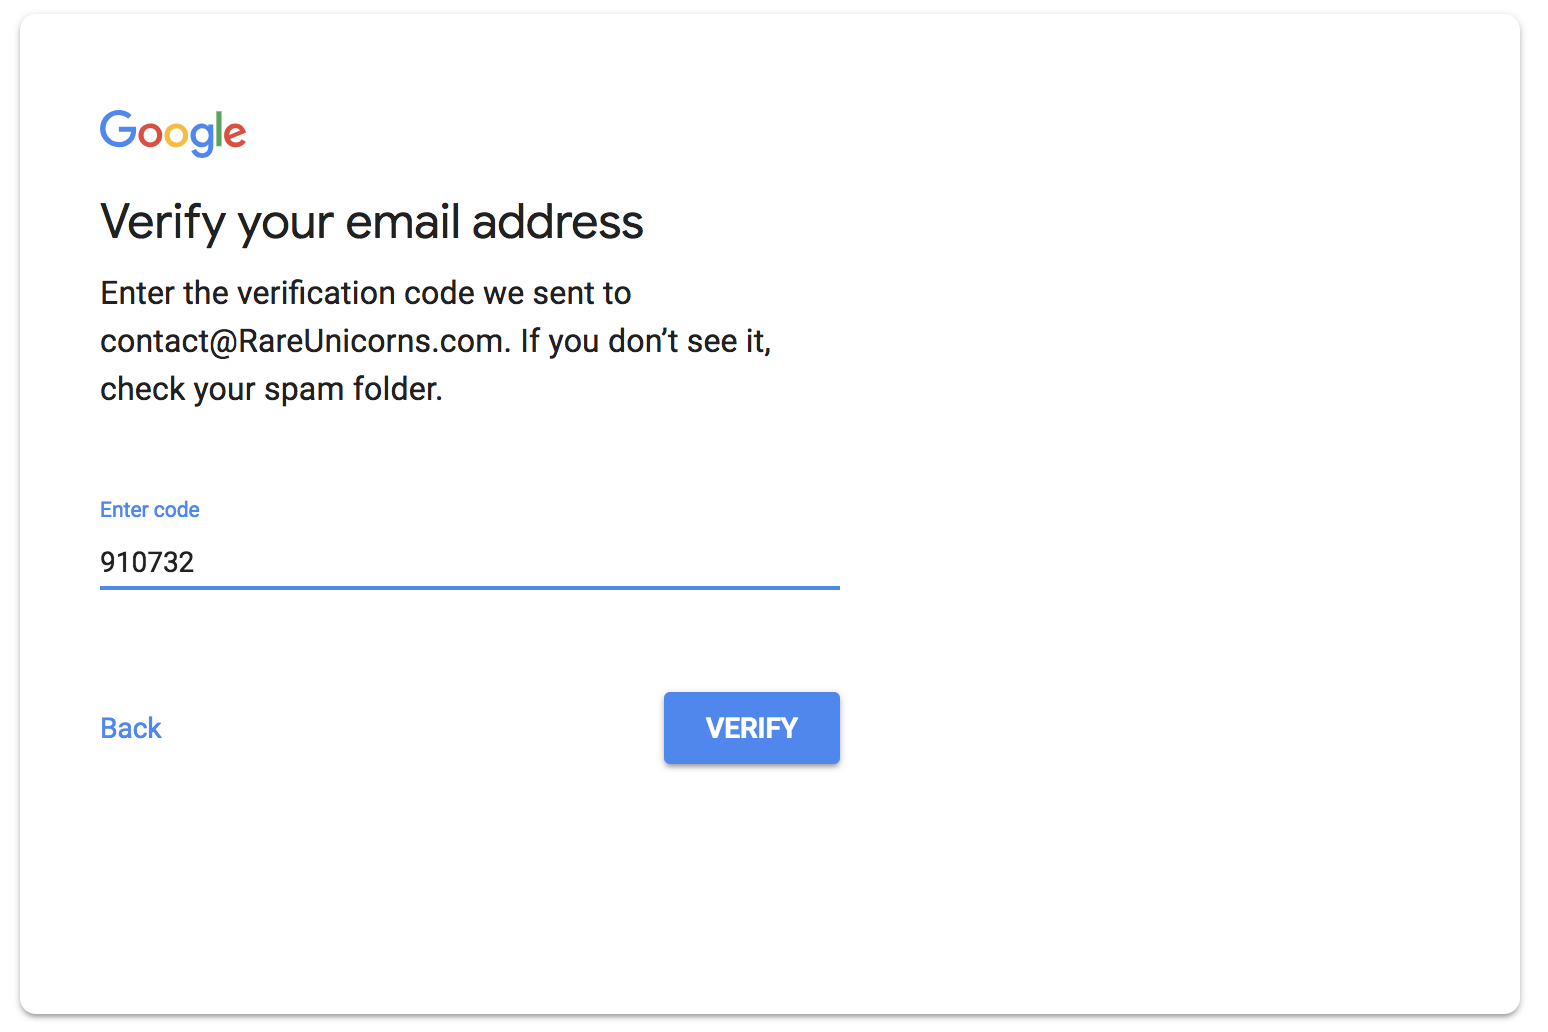
10. Now go back to your google account creation page, and use the verification code provided in the email to confirm.
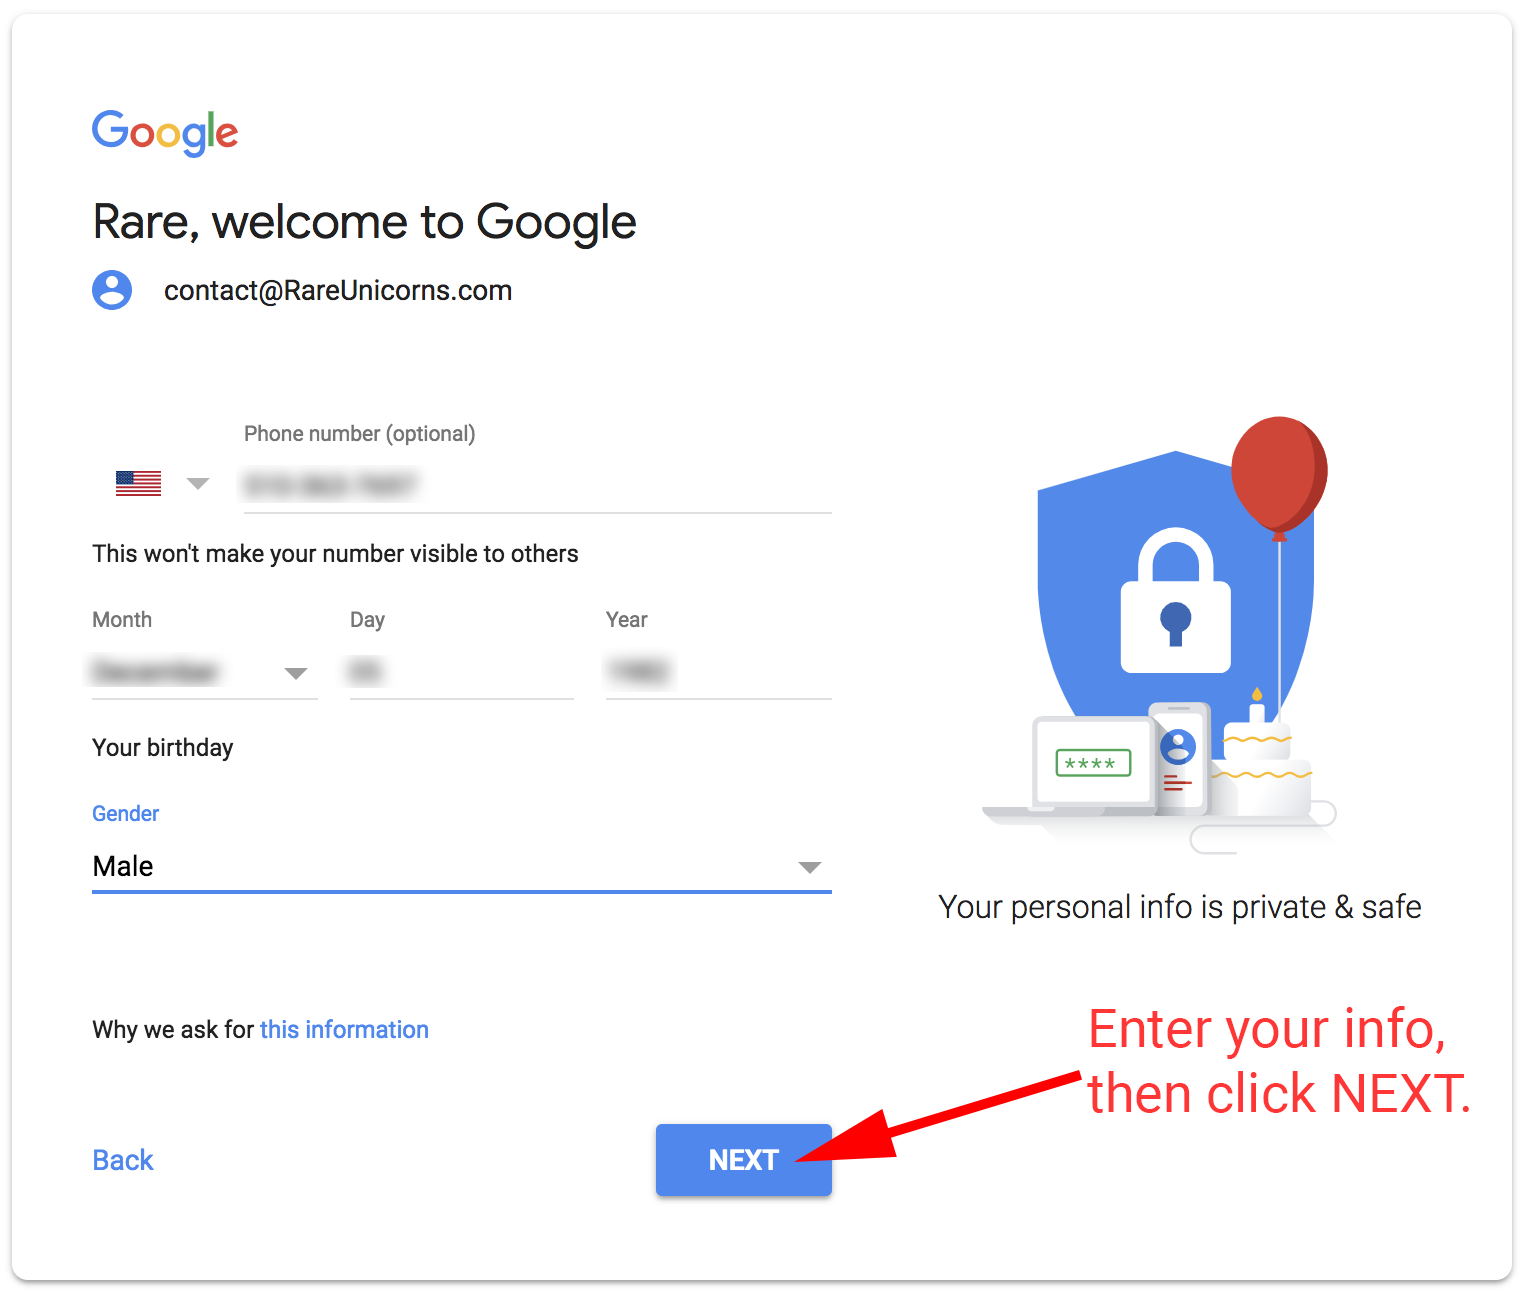
11. Fill out the profile information for your new Google Plus Account!
12. Read through the Privacy and Terms, and then agree to move forward.
13. Go back to Google.com, then on the icon on the upper right hand corner, now select it, and then click on the “change” button to change your profile photo!
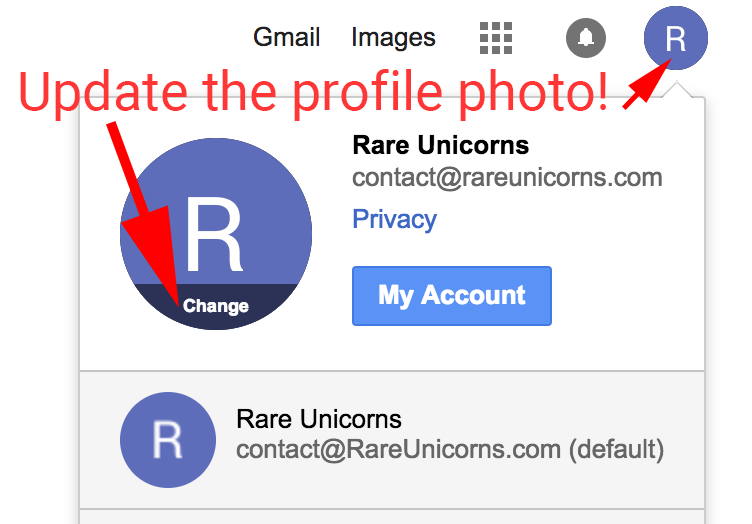
14. This step may take a while (maybe up to an hour!), to speed things up, try sending and receiving email for the new email account (back and forth with any gmail account).
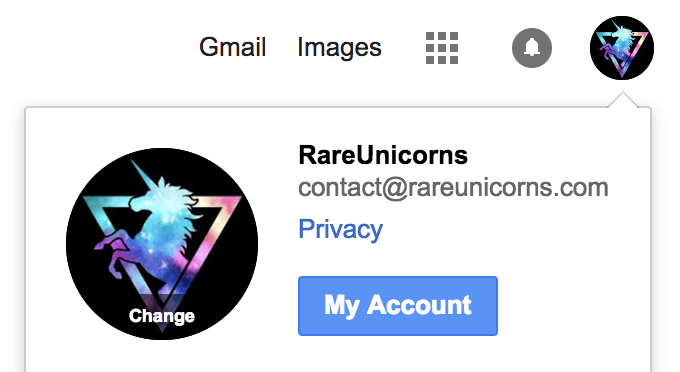
15. After about an hour, you should see the profile photo get updated, like I see in the above image!
16. And now when you send an email, your receipt will see the profile photo:

I hope this article help! If you find this article helpful, please share it with family and friends! Also, feel free to post me a comment below. If you’re not already subscribed to my YouTube Channel, please consider doing so! Thanks!
